Let's explore the essentials of starting up your portable generator safely and efficiently. We'll guide you through everything from selecting the perfect outdoor spot to mastering the startup sequence and maintaining peak performance. Whether you're preparing for emergencies or powering your next outdoor event, understanding these vital steps will help you avoid common pitfalls and guarantee reliable operation. As we break down each phase of generator operation, you'll discover why proper setup and maintenance aren't just about following rules—they're about protecting your investment and keeping your power flowing when you need it most.
Choosing the Right Location
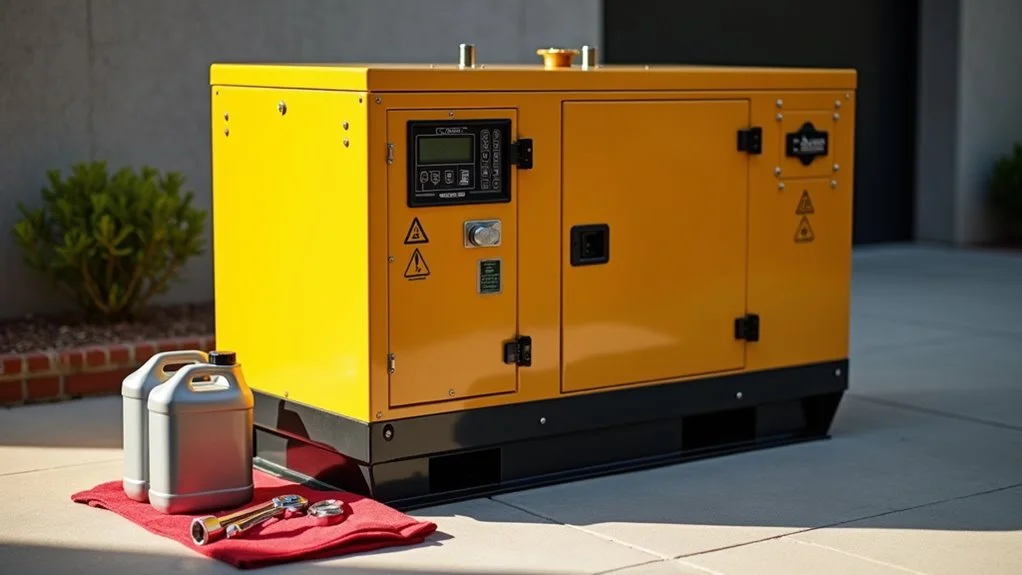
Every portable generator requires proper placement to operate safely and effectively. Let's make sure we're setting up our generator in a way that keeps everyone safe while giving us the power we need when we need it most.
First, we'll need to position our generator outdoors in a dry, level area at least 20 feet away from any doors, windows, or vents. This distance is vital because generators release carbon monoxide, which can be deadly if it seeps into our homes.
We'll want to place it on a firm, flat surface – never on your deck or inside your garage, no matter how tempting that might be during bad weather.
Next, we need to think about accessibility. We want our generator where we can easily check the fuel level and perform maintenance, but not where it'll be exposed to flooding or excessive moisture.
If you're dealing with rain, use a generator tent or canopy specifically designed for this purpose – never create a makeshift cover that could trap dangerous gases. Remember, proper airflow around the generator is essential for safe operation.
Pre-Start Safety Checks
Once we've found the perfect spot for our generator, we'll need to complete several safety checks before firing it up. Let's make sure we're ready to power up safely and effectively.
First, we'll check all the oil and fuel levels – you don't want your generator sputtering to a stop when you need it most. Take a look at the fuel tank and fill it with fresh gasoline if needed, but don't overfill it.
Next, we'll inspect the oil level using the dipstick, adding more if it's low. Remember, a well-oiled machine is a happy machine!
Now, let's examine all the connections and parts. Check for any loose wires, damaged cords, or worn areas that could cause problems.
Make sure the air filter is clean and properly seated – it's amazing how much trouble a dirty filter can cause. We'll also want to test the circuit breaker by pressing the reset button.
Finally, clear away any debris that might've collected around the exhaust area and cooling vents. Good airflow is essential for keeping our generator running smoothly and preventing overheating.
Preparing Your Generator
Now that our safety checks are complete, let's get our generator ready for operation. We'll start by placing our generator on level ground in a well-ventilated outdoor area, at least 20 feet from any buildings.
It's important that we're setting up on a stable surface to prevent any unwanted movement during operation.
Next, we'll check the fuel level and add fresh gasoline if needed – remember, we don't want to fill it more than 95% full to allow for fuel expansion. While we're at it, let's make sure the oil level is correct by checking the dipstick. If it's low, we'll top it off with the manufacturer's recommended oil type.
Now, we'll connect any necessary extension cords, making sure they're rated for outdoor use and can handle our power needs.
Let's double-check that the generator's power switch is in the "OFF" position and all circuit breakers are properly set.
Finally, we'll guarantee the fuel valve is open and the choke is in the correct starting position. With these steps complete, we're ready to start our generator and power up our equipment.
Fuel and Oil Requirements
To keep your generator running smoothly, you'll need to use the right types of fuel and oil. Most portable generators run on regular unleaded gasoline with an octane rating of 87 or higher, but always check your owner's manual to be certain.
We recommend using fresh fuel and adding a fuel stabilizer to prevent the gas from breaking down during storage.
When it comes to oil, your generator's engine needs the correct weight and grade to operate properly. Most models use 10W-30 oil, but some newer units might require synthetic options.
We'll want to check the oil level before each use and change it according to the maintenance schedule – typically every 50-100 hours of operation or at least once per year.
Don't forget that altitude can affect your generator's performance. If you're operating above 5,000 feet, you might need to adjust the fuel mixture.
Also, never mix different types of fuel or use gasoline containing more than 10% ethanol, as this can damage your generator's engine and void the warranty.
Starting the Generator
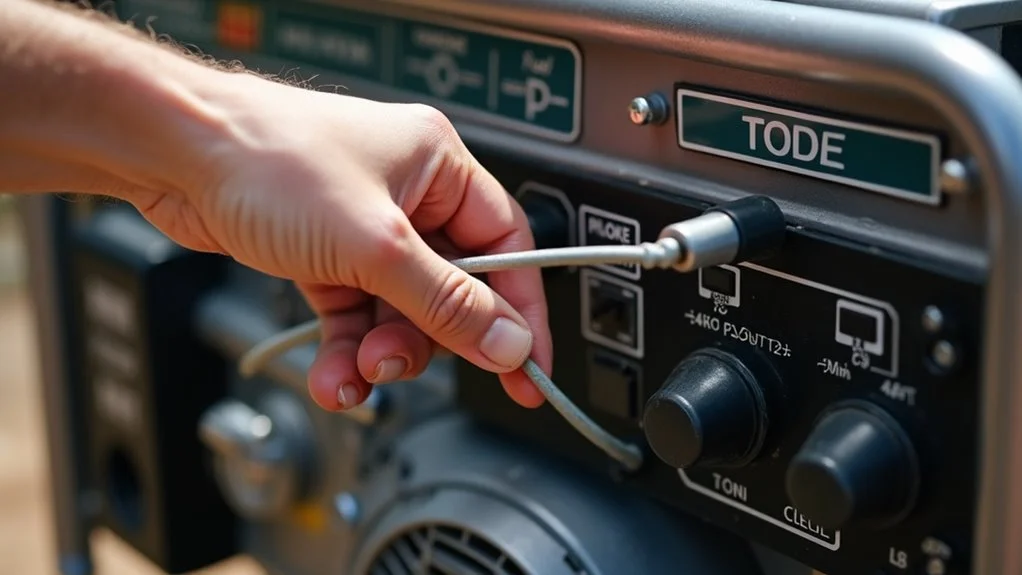
Before turning on your generator, follow these essential pre-start checks. Let's make sure everything's ready to go by checking the oil level, fuel level, and ensuring the generator is on level ground. We'll also want to verify that no electrical loads are connected before starting.
Now let's walk through the starting sequence that'll get your generator humming. We've broken down the process into simple steps that'll work for most portable models:
| Step | Action | What to Check |
|---|---|---|
| 1 | Turn fuel valve ON | Valve moves freely |
| 2 | Set choke to CLOSED | Choke lever clicks |
| 3 | Switch to ON/RUN | Power switch engages |
| 4 | Pull starter cord | Engine turns over |
Once the engine starts, we'll gradually move the choke to OPEN as it warms up. Listen for that smooth, steady engine sound – that's your signal that everything's running right. Wait about 2-3 minutes before connecting any electrical loads, giving your generator time to stabilize. If the engine doesn't start on the first try, wait 30 seconds before attempting again.
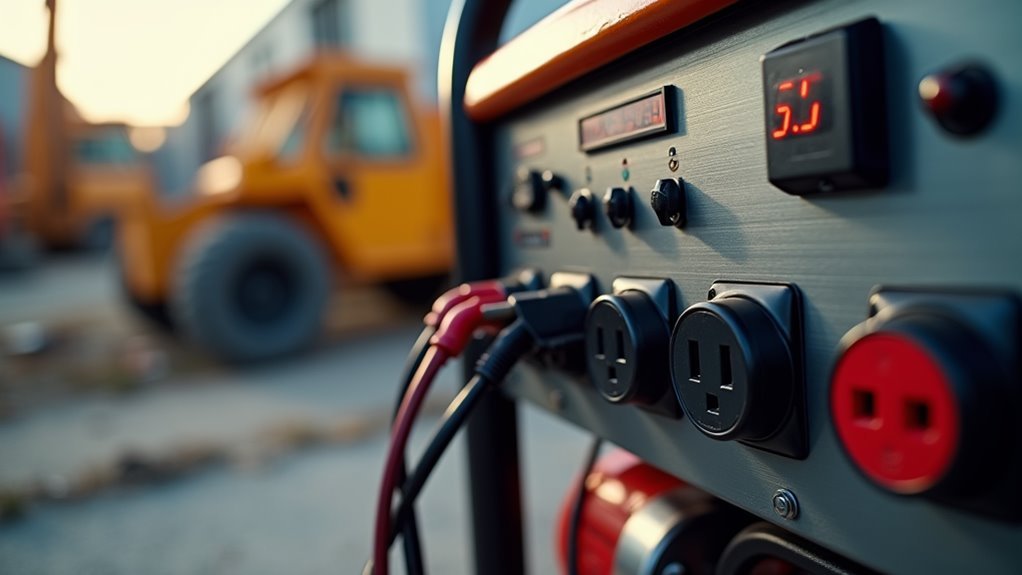
Connecting Your Devices
Once your generator is warmed up and running smoothly, it's time to connect your devices strategically. Let's start with the most essential items first, like refrigerators, freezers, or medical equipment.
We'll want to plug these in one at a time to avoid overloading the system.
Before we connect anything, let's check the wattage requirements of each device against our generator's capacity. You'll find this information on the device's label or in its manual. We need to stay well under the generator's maximum output to maintain a safe power reserve.
Now, we'll use heavy-duty extension cords rated for outdoor use, making sure they're properly grounded. Let's roll them out carefully, keeping them away from high-traffic areas and protecting them from moisture.
When we plug in each device, we'll watch the generator's load indicator to guarantee we're not pushing it too hard.
Load Management and Wattage
Get Started: A Step-by-Step Guide to Using Your Portable Generator
Load Management and Wattage
Managing your generator's power load wisely helps prevent overload and guarantees continuous operation of your most needed devices. We'll want to calculate the total wattage of everything we're planning to power and make sure it doesn't exceed our generator's capacity.
Most portable generators can handle between 2,000 to 8,000 watts, but it's vital to check your specific model's rating.
Let's focus on smart power management to get the most from your generator. When you're ready to connect devices, start with essential items like refrigerators and heating systems before adding less critical loads.
Remember that some appliances, like air conditioners and power tools, need extra starting watts – sometimes two to three times their running wattage. Regularly running the generator helps ensure engine lubrication and reliability, which is critical for effective load management.
- Always keep total connected wattage at 80% or less of your generator's rated capacity to maintain a safety buffer.
- Prioritize your loads – connect critical devices first, then add comfort items if capacity allows.
- Rotate power-hungry devices instead of running them simultaneously when possible.
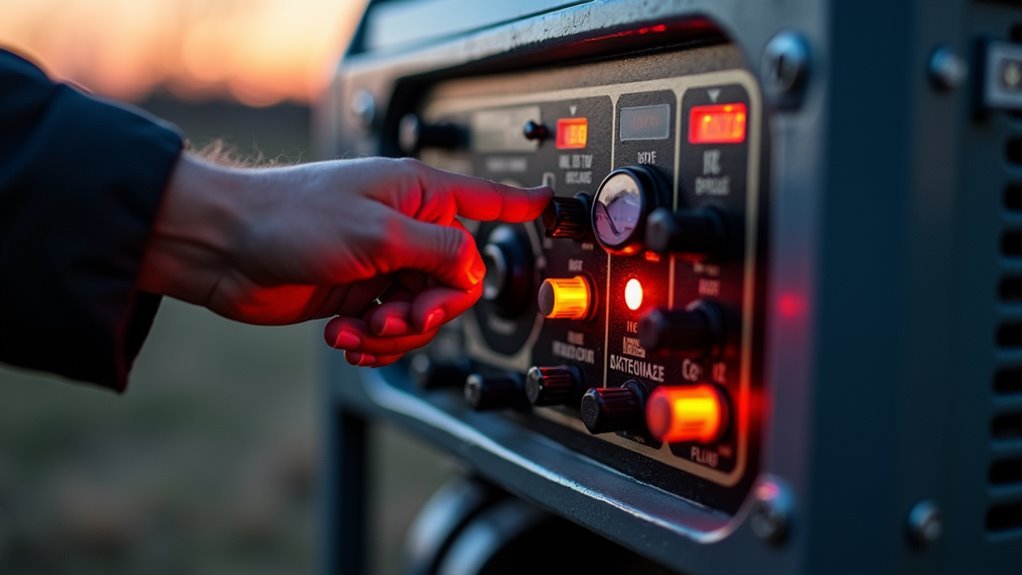
Monitoring During Operation
A watchful eye during generator operation can prevent most common problems and guarantee reliable power output. We'll want to check a few key things regularly while our generator's running to keep everything working smoothly.
Let's start with the fuel gauge – we should monitor it every couple of hours to verify we don't unexpectedly run dry.
We'll also want to listen to how the engine sounds, as unusual noises can signal trouble before it becomes serious.
The output meter needs our attention too, showing us if we're using too much power or if everything's running just right.
Temperature is another critical factor we can't ignore. We'll need to make sure our generator isn't overheating, especially on hot days or when it's working hard.
It's also smart to check for any oil leaks, unusual vibrations, or exhaust color changes that might pop up during operation.
If we notice anything strange, it's best to power down and investigate rather than risk damage to our backup power system.
Proper Shutdown Procedures
Following proper shutdown steps extends your generator's life and prevents potential damage. When it's time to power down your generator, we'll want to follow a specific sequence that keeps both you and your equipment safe.
Let's walk through the shutdown process together to guarantee you're doing it right every time.
First, we'll need to remove any loads from the generator by turning off and unplugging all connected devices. This prevents power surges that could harm your electronics.
Then, let the generator run without any load for about 5 minutes to cool down properly – think of it as a cool-down period after a workout.
- Always check that all circuit breakers are switched to the "OFF" position before beginning the shutdown sequence
- Never skip the cooling period – it helps prevent thermal shock to internal components
- Keep your hands away from hot surfaces until the unit has completely cooled, which typically takes 30 minutes
Finally, turn the fuel valve to the "OFF" position and let the engine run until it stops from fuel starvation. This clears the fuel system and prevents stale fuel issues during storage.
Regular Maintenance Schedule
Proper generator care extends beyond shutdown procedures into a consistent maintenance routine. We've created an easy-to-follow schedule that'll help you keep your generator running smoothly and reliably when you need it most. Following these guidelines will maximize your generator's lifespan and guarantee it's ready for action during unexpected power outages.
| Maintenance Task | Frequency | Notes |
|---|---|---|
| Oil Change | Every 50-100 hours | Use manufacturer-recommended oil |
| Air Filter Check | Monthly | Clean or replace if dirty |
| Spark Plug Check | Every 6 months | Replace if electrodes are worn |
| Fuel System Clean | Yearly | Remove old fuel, clean tank |
Don't let maintenance feel overwhelming – it's actually pretty straightforward when you break it down into manageable steps. We recommend marking these tasks on your calendar and setting reminders on your phone. It's much easier to handle routine maintenance than to deal with a generator that won't start when you're counting on it. Remember to keep a maintenance log to track when you've completed each task, and you'll always know exactly where you stand with your generator's upkeep.
Frequently Asked Questions
How Long Can I Store Fuel Before It Goes Bad?
We recommend using your stored fuel within 3-6 months, but if you add a quality fuel stabilizer, you'll extend its life up to 24 months before it starts degrading.
Can I Use My Generator in the Rain?
We never want to run generators in the rain without proper protection. Let's use a steel-framed canopy or generator tent designed for wet conditions. Don't operate in standing water or flooding areas.
Why Does My Generator Make Strange Noises When Running?
We'll help you identify those strange noises. Most unusual sounds come from loose parts, low oil, fuel problems, or damaged components. Let's check these first for your generator's well-being.
Can I Parallel Two Different Generator Models Together?
We don't recommend paralleling different generator models, as they need matching outputs and compatible technologies. You'll risk damaging your equipment and creating dangerous power fluctuations. Stick to identical models for safe paralleling.
How Do I Break in a New Portable Generator?
While we'd love to just fire up that shiny new generator, let's break it in right: Run it at 50% load for two hours, change the oil, then gradually increase load over time.
Conclusion
Let's remember that mastering our portable generator isn't just about following steps – it's about creating a reliable power source we can count on when we need it most. By carefully positioning our generator, performing essential checks, and maintaining it regularly, we're building confidence in our ability to keep our homes powered safely. With these guidelines in hand, we're ready to face any power challenge that comes our way.